Display tab
The Display tab contains options regarding how the session should be displayed by the client.
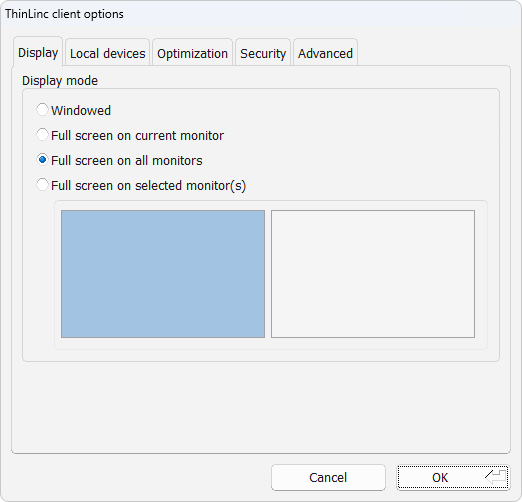
Fig. 8 Client settings display tab
Description of display tab settings
Here follows a detailed description of the settings available in the display tab.
- Windowed
This option makes the ThinLinc session appear as a normal window on the desktop that can be moved and resized.
- Full screen on current monitor
This option makes the ThinLinc session cover the entire screen area of the monitor that the client is current on. If you run in full-screen mode and want to reach the native session that is hidden by the ThinLinc session then you can switch out from full-screen mode. To do this you press the key assigned to bring up the session pop-up menu. Normally this menu is bound to the F8 key, but can be manually changed. See the Popup menu key setting on the Options tab above for more information on this. In the session menu you should select Full screen to toggle full-screen mode.
- Full screen on all monitors
This option makes the ThinLinc session cover the entire screen area of all the monitors that are connected to the local client. Leaving full-screen mode to access the native session is done the same way as for full screen on the current monitor.
- Full screen on selected monitor(s)
This option makes the ThinLinc session cover the entire screen area of the monitors that have been selected in the monitor selection box below this option. Leaving full-screen mode to access the native session is done the same way as for the other full-screen modes.
More monitors may be included than have been selected in the selection box in order to create a rectangular session size. These extra monitors will be indicated with a checkered pattern.
